Tape tips: Getting the most out of your infusion set and sensor this summer

With summer upon us, we receive so many questions about how to make the most out of your infusion set and glucose sensor sites. It’s a busy time of year, typically with lots of water, sweat and even sand! Here are some great tips straight from our website to help you better prepare for summer!
Infusion Set Tape Tips
Plan your site change
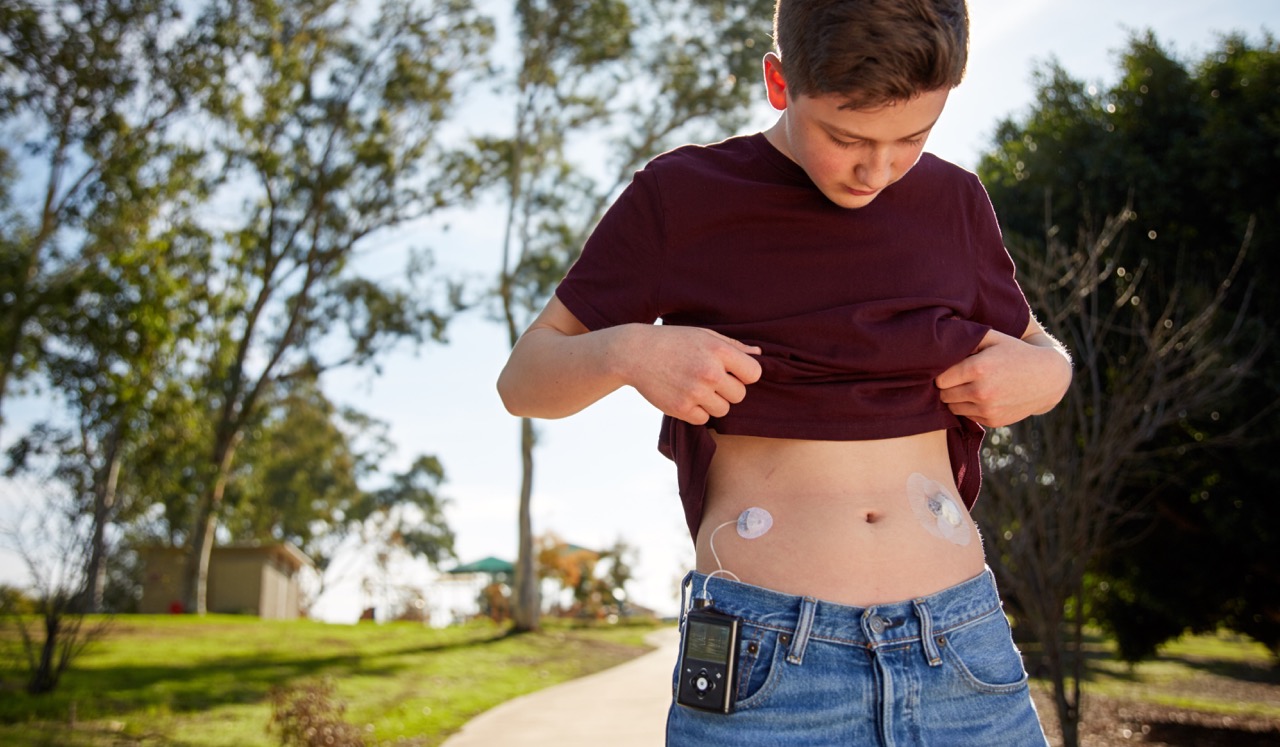
Plan your site change around your shower, so you can clean the site well. Before you shower, remove your old infusion set and clean off the adhesive if your skin appears to be sticky. Once you’re in the shower, make sure to wash off both your old and new insertion sites. If you can’t plan your site change around a shower, be sure to wash your hands with soap and water as well as the area where you’re going to put your infusion set.
Disinfect
Once ready to put in your infusion set, disinfect your skin with isopropyl alcohol or an alcohol wipe. Let your skin dry thoroughly before applying either the infusion set or the adhesive. In summer, it might be especially important to apply a prep wipe (like the one available through our online store here: IV Prep) in a large area around the site and fan it, allowing it to become sticky. If necessary, you can also try a stronger adhesive, such as Mastisol, but make sure to have Detachol® solvent available for removal.
Especially important during summer, make sure to avoid using oils and lotions around the area of insertion. For optimal adhesion, you might want to shave excessive body hair around your insertion site.
Sandwich Method
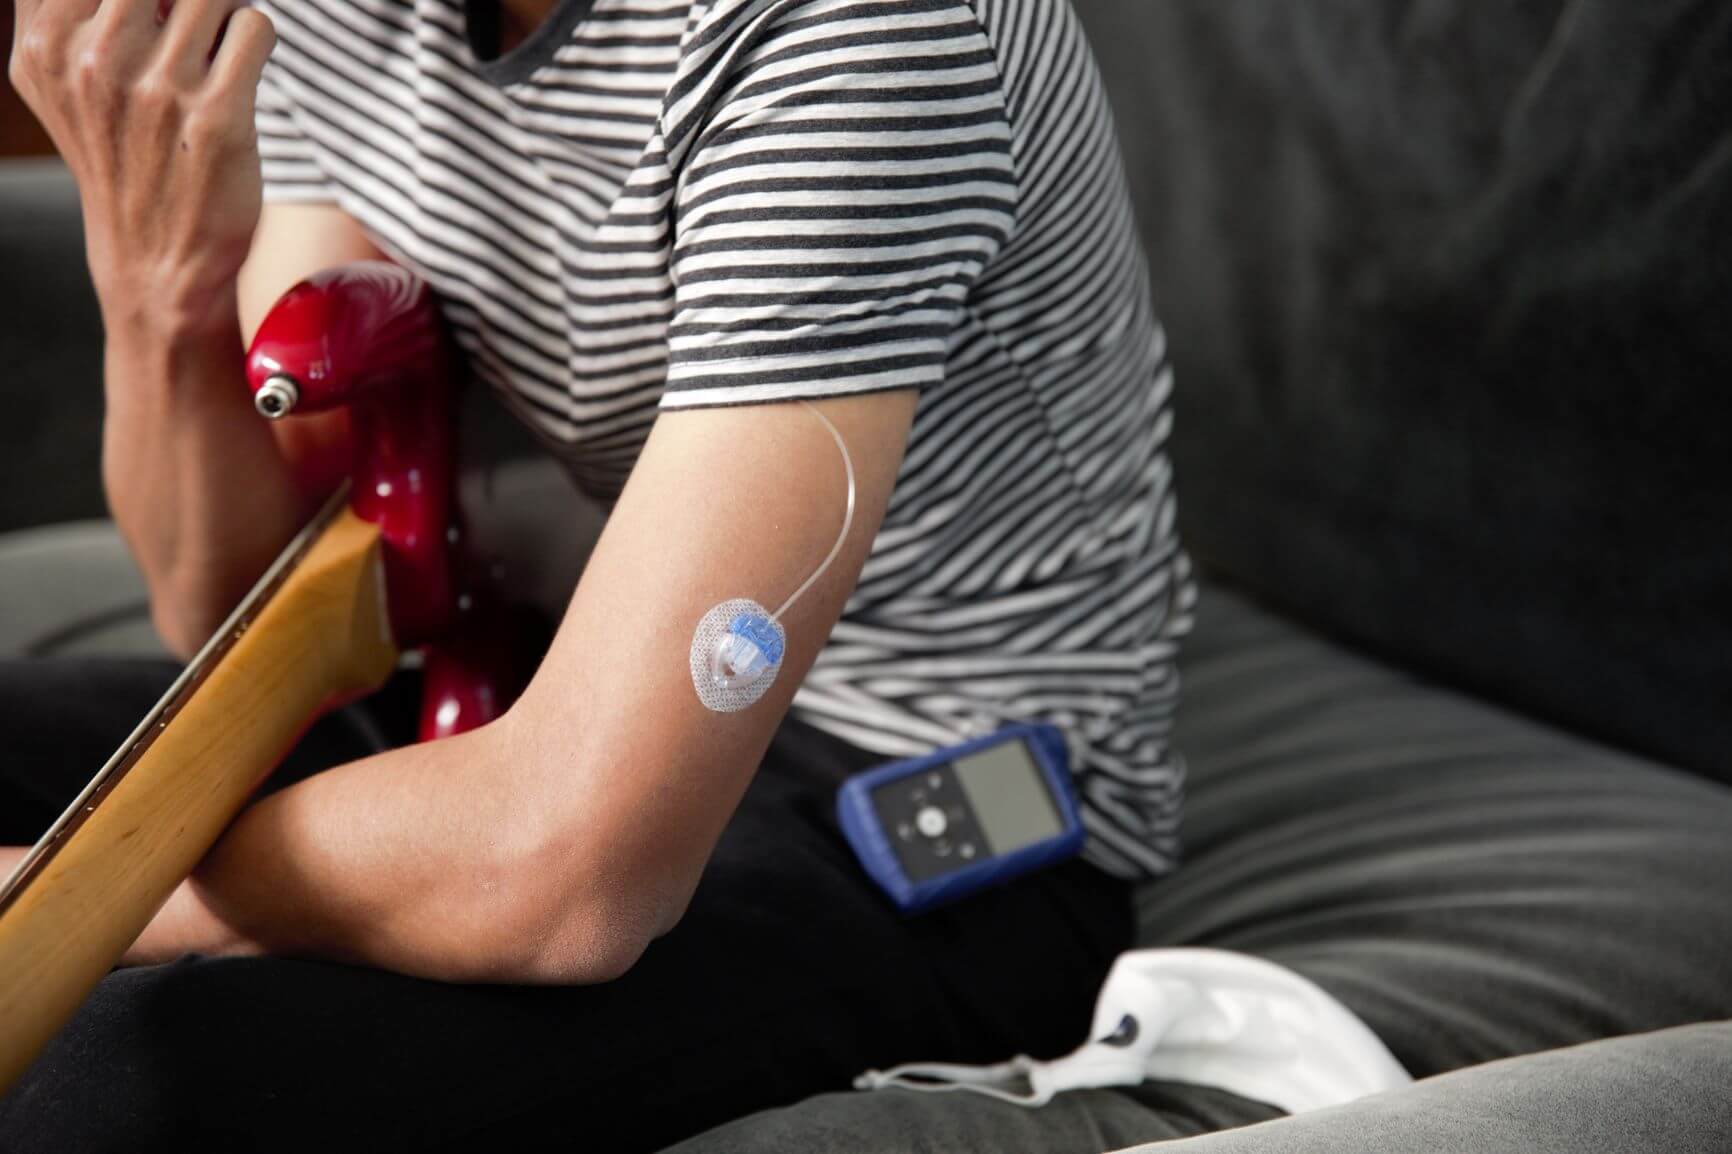
For added security (with infusion sets only), the Sandwich Method, suggests you apply a clear adhesive dressing (for example:Infusion Set IV3000, Tegaderm™, or Polyskin™) directly to your skin. Insert the infusion set through the clear adhesive dressing (follow the instructions for inserting infusion sets). The adhesive on the infusion set will be sticking to the clear adhesive dressing instead of sticking directly to your skin, which helps with sweat.
Antiperspirant Method
Using a non-deodorant solid or spray (no gels or creams) antiperspirant on your infusion set or sensor site prior to insertion sometimes helps the tape stick better. Apply around your chosen site and allow it to soak in for 10-15 minutes. Then, clean the site with soap and water to remove any excess from skin and make sure to clean your solid stick antiperspirant with an alcohol wipe.
When inserting your infusion set try to touch as little of the adhesive as possible on the infusion set to avoid getting skin oils on it. Then insert your infusion set following the process and techniques you were shown during training or review this support video.
Especially important during summer, if you’re going to be very active, sweating or swimming, cover the site with additional adhesive tape. You might also try using additional tape on the corners to prevent them from peeling up and lifting the entire infusion site out.
Make sure to check regularly to make sure the tubing is not pulling on the site and adding stress on the adhesive and when all else fails, change the site!
CGM Sensor Tape Tips
No Sandwiches or Skin Prep
While we gave some great tips above for infusion sets, inserting the glucose sensor through any barrier may damage the sensor, so make sure not to use the Sandwich Method, a skin prep/barrier wipe or tape!
Enlite™ Overtape Method
1. The first step is to apply the Enlite overtape.
2. Remove the large paper backing marked with a number 1 from the overtape (but not the two smaller tabs on the sides of the overtape just yet.) Hold the overtape by the covered ends and apply one side of the overtape so that the half of the side of the tape covers the round part of the sensor and the other half covers the skin securely. It is very important that both the skin and the sensor are covered to ensure the sensor stays inserted.
3. Next, stretch the remaining part of the overtape around the sensor connector so that it sticks to the adhesive pad but does not block the "bumble bee" or sensor connector. Smooth down the tape that was placed on the skin and then remove the two paper tabs marked with a number 2 from the sides of the overtape.
4. Finally, press the remaining overtape against the skin to eliminate any air pockets.
Especially during the summer, you might need additional tape. There are two options for the enhanced taping method:
Option 1 – Leaving the back of the transmitter open to allow for better ventilation
Option 2 – Covering the back of the transmitter to help reduce the chances of the transmitter catching on clothes.
For additional tips to improve adhesion and reduce skin irritation, including hypoallergenic options, here is another great resource.
If you’ve recently switched to the Guardian Sensor 3, you might also find these tips helpful.
One last thing - don’ forget to CONNECT the transmitter!


