Starting your sensor
Device: MiniMed™ 670G insulin pump (MMT-1780K)
Starting the sensor
After you insert your sensor and connect your sensor and transmitter, your pump starts communicating with the transmitter. The pump notifies you when the sensor is ready to use.
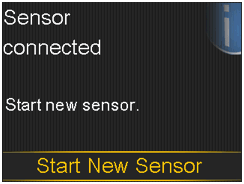
Make sure your pump is on the Home screen so that the “Sensor connected. Start new sensor.” message will be displayed when the sensor is ready to be started. This typically takes less than a minute, but may take up to 10 minutes.
1. Select Start New Sensor when it appears on the pump screen.
2. The “Sensor warm-up started” message will appear.
3. Select OK.
4. “Warm up...” will appear on the Home screen until sensor is ready for first calibration.
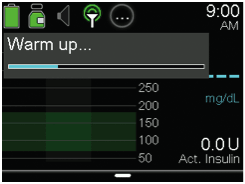
If 15 minutes have passed and the Warm up bar does not appear, or it looks like it is not progressing, look into the Quick Status screen. If you see the time of Next cal listed, the sensor is in Warm Up.
If your pump cannot find the sensor signal, follow the instructions on your pump screen.
- Disconnect and reconnect the transmitter from the sensor. Pay attention to the transmitter, and notice if the transmitter light blinks when connected to the sensor. If the transmitter light does not blink, you need to charge your transmitter.
- Move your pump closer to your transmitter. It can take up to 10 minutes for your pump to find the sensor signal.
- If your pump is still unable to find the sensor signal, make sure you are away from any electronic devices that might cause interference.
Note: The next time you connect a transmitter, you will see the message “Sensor connected, If new sensor, select Start New. If not, select Reconnect.” Select Start New Sensor if you have just inserted a new sensor. Select Reconnect Sensor if you have only disconnected and reconnected the transmitter.